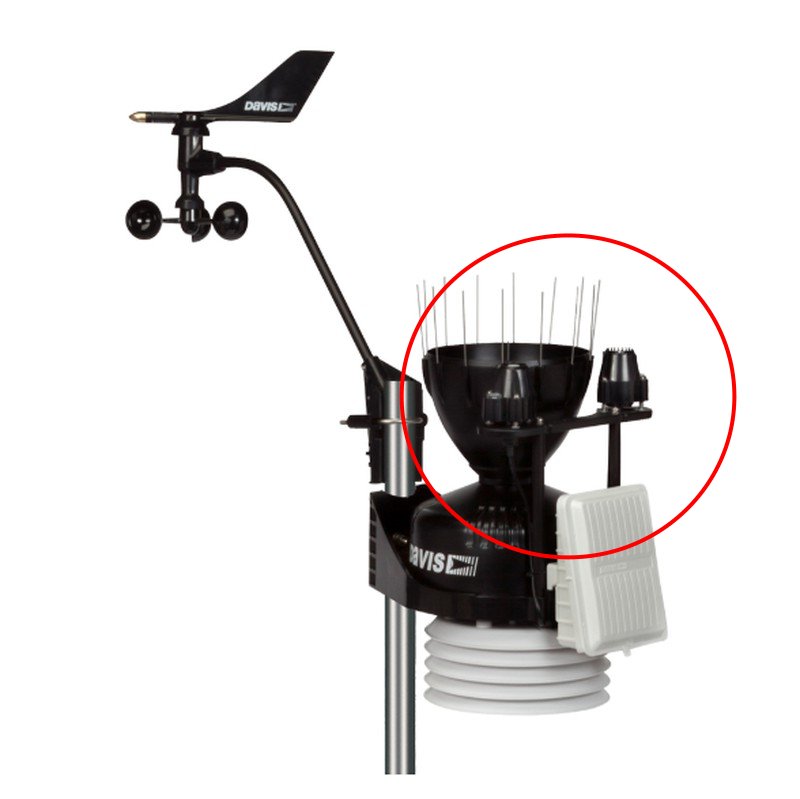
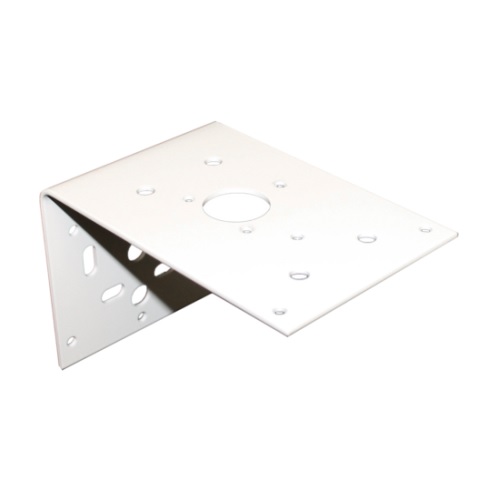
The Davis Instruments solar radiation and UV sensors require a specific mounting plate. As far as I’m aware, there are two options available. You have the sensor mounting shelf which can be attached to the rain collector. Then you have this universal mounting bracket. It can fit one radiation sensor. It also comes with the 7714 radiation shield. At least is some cases.


The downside to the mounting shelf is that it only fits on the rain collector, limiting placement options. The universal mounting bracket has better placement options, unless it came with the 7714, forcing you to place your radiation sensor in the same place. If you purchase it separately, the main issue is its price. Both options are expensive. I know Davis is never cheap, but spending 55 or 60 dollars for a piece of metal or plastic is just silly.
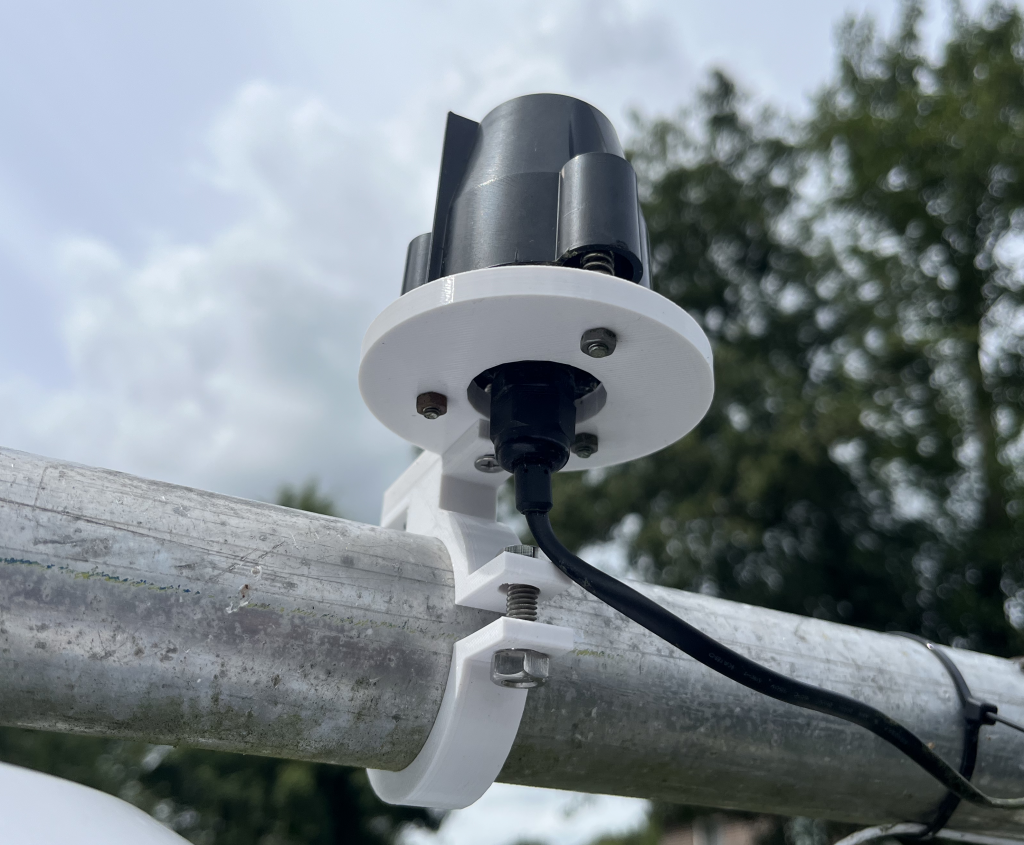
An alternative would be 3D printing some design available on thingiverse.com or printables.com. Oddly enough, there are very few Davis Instruments comptable designs available. That left me with making it myself. I have no proper 3D designing skills, but I’ve been making simple designs for my weather station for some time. Sensor holders, mounting brackets for enclosures and the like. Making a mounting bracket for the radiation sensors is easy enough. It has 3 holes for the screws and 1 large hole for the sensor body.
For those interested I have made my simple model available on Cults3D. It fits on pipes of roughly 42-48mm. In the image below, its mounted onto a 48mm pipe, which is a little tight but it works. In this case, it is printed in a white PETG filament. I printed some PLA brackets before. That looks nice at the start, but PLA becomes quite brittle after a while. As I understand it, this is due to UV exposure. PETG has better UV resistance. The best choice of filament would be ASA, though I haven’t used that material for printing yet.

