
I have long been unhappy with the performance of the Meteostick internal barometer. Although the values it emits are usually totally acceptable, it tends to spike inexplicably multiple times a day.
So, this week I finally came around to installing a new sensor, the Bosch BMP180. Its performance compared to the Meteostick can already be seen on meteodrenthe.nl.
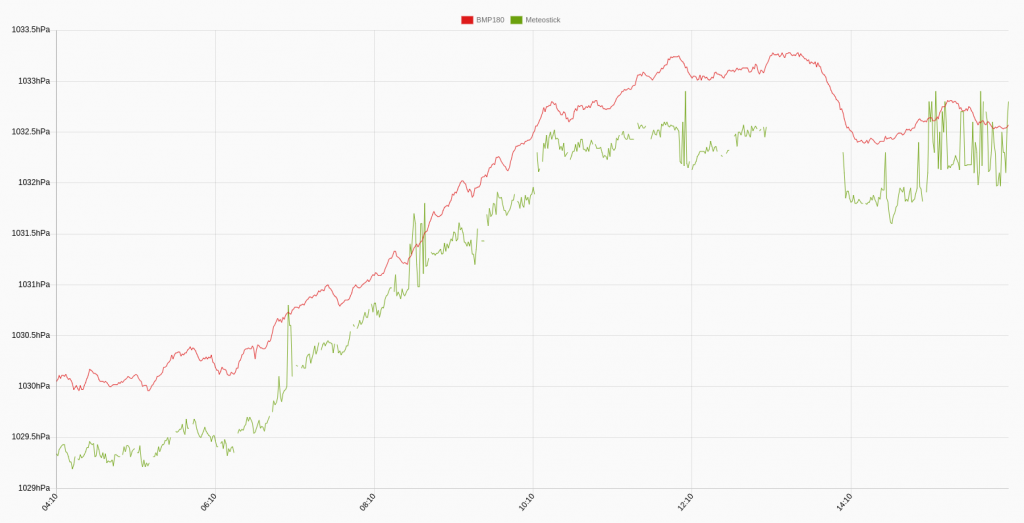
The Meteostick (green) is all over the place, while the BMP180 in red is showing stable results. Note that the sensors deviate by a few tenths of a hectopascal.
The sensor itself comes in several forms. Since I’m using the Wemos D1 Mini Pro micro controller, I ordered the BMP180 shield for the D1. For comparison, I also ordered several of these sensor boards.
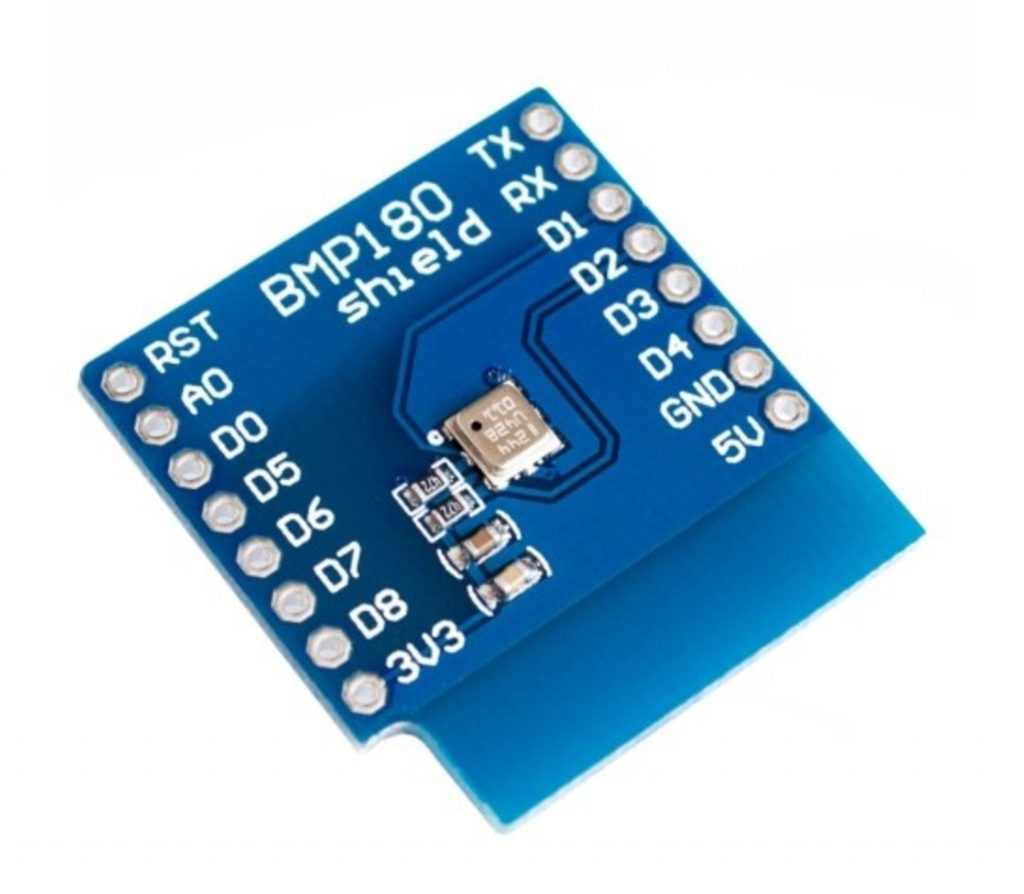
Running the BMP180 on the D1 involves soldering some headers to fit the shield and installation of the Arduino IDE in order to upload the code that will process the sensor data.
There are several good tutorials on how to use the D1 with the IDE. This does not work right away, because though the D1 is compatible, it is not supported without installing a package for the ESP8266 microchip, which runs on the D1.
The code running on the D1 right now does a few things. Upon setup, it attempts to find the sensor and connects to my WiFi network. When the sensor and the WiFi network are found, the main function involves 300 readings of the sensor during a 30 second period, after which the result is averaged. I do this, because I noticed that the BMP180 readings, though mostly stable, can deviate as much as 0,4 hpA from moment to moment. If I were to depend on just one reading each cycle, the results would be jumping all over the place. The code block for reading in averaging looks like this.
  double sum = 0;
  for (int i = 0; i < LOOPS; i++) {
    sum += bmp.readPressure();
    delay(100); // 100ms delay between each measurement
  }
  double hPa = (sum / LOOPS) / 100.0;
Since the value read by bmp.readPressure() is in pascals, I divide the result by 100 to end up with the desired hectopascals. For above code, it is sufficient to include the Adafruit_BMP085.h library.
#include <Adafruit_BMP085.h>After the read cycle, the resulting pressure value is submitted to my server. I must say that getting HTTPS POST requests working not the easiest thing. Even though I believe I have read most solutions, I am still encountering errors. Hence, for the time being I’m using an insecure option to post my data. As it’s just pressure data going to my own server, I’m not too concerned.
Sensor precision
I tried a total of 4 different BMP180 sensors. Two D1 shields and 2 other sensor modules. While the sensor I decided to use needs little or no further calibration to give me values I can live with, the other 3 sensors all gave me different results inside a +/- 2.6 hPa range. This is, in my opinion, quite a lot for identical sensors.
Not that I am expecting a lot from it, but I am nonetheless going to try the BMP280.